This is just a short update: In the previous post I described the overhaul of my little basement data center, but left it open as far as getting everything racked up cleanly. Between then and now, the 12RU rack arrived from Amazon, as did the rack rail kit for my 4RU server chassis. After assembling the rack in my basement, I shut everything down and went to work.
My first step was to mount the router on the back of the rack. The reason I did that was so that its network interfaces were all on the same plane as the switch’s. Look at the picture below, and it’ll make more sense. I did that on the floor, with the rack laying on its front, if you will. It was easy to just drop the router into place and bolt it onto the rack. Done.
I then hoisted the rack-and-router combo onto the table and positioned it lengthwise along the table’s surface. That in hopes of better spreading the mass of the rack and machines out over that table. Once in place, I bolted the Cisco switch to the very top of the rack. Easy; it doesn’t weight anything. Once in place, I powered the router and switch, cabled them all back up together, and my house was back on the Internet.
Then came the server. This took me way longer than it needed to, because I had to keep taking breaks and coming back to it. If I’d had a buddy to help, it would have been ten times easier. But I attempted to do this alone. The rail kit for the server allows you to slide the server chassis into and out of the rack as needed, for part replacement, maintenance, etc. They’re very convenient once you get everything lined up and mounted properly. Since I hadn’t done this before, I was learning as I went.
The first step was to mount the inner rails onto the chassis itself. Easy. A set of six screws per rail, and it was done. No problem. Next: get the outer rails and bearing carrier mounted to the rack itself. This was also pretty easy; I just had to pick the right rack elevation and bolt the front and back sides of the rails to said rack. Done. The hard part was muscling the server into the rails. This is supposed to be easy, and probably would have been if I’d had a second person to help. But given the chassis’ mass and depth (nearly 27 inches), it was a pain in the ass to try and position perfectly to engage the rails and bearing carriers.
In fact, it was so difficult, I took several breaks. I finally decided to take the advice of a friend and remove the drives from the server. Eight of the drives are in hot-swap bays, and they’re all in the front of the server. Removing those would reduce the mass of the front side of the chassis by quite a bit; though it’s still pretty heavy! That made the work a lot easier as I was able to position the ass end of the chassis to line up with the rails. Once done, *click*, the chassis snapped into engagement with the rails, and it was able to slide into and out of the rack with ease. I re-inserted all eight drives, cabled the networking and power up, and within no time: my server was running again.
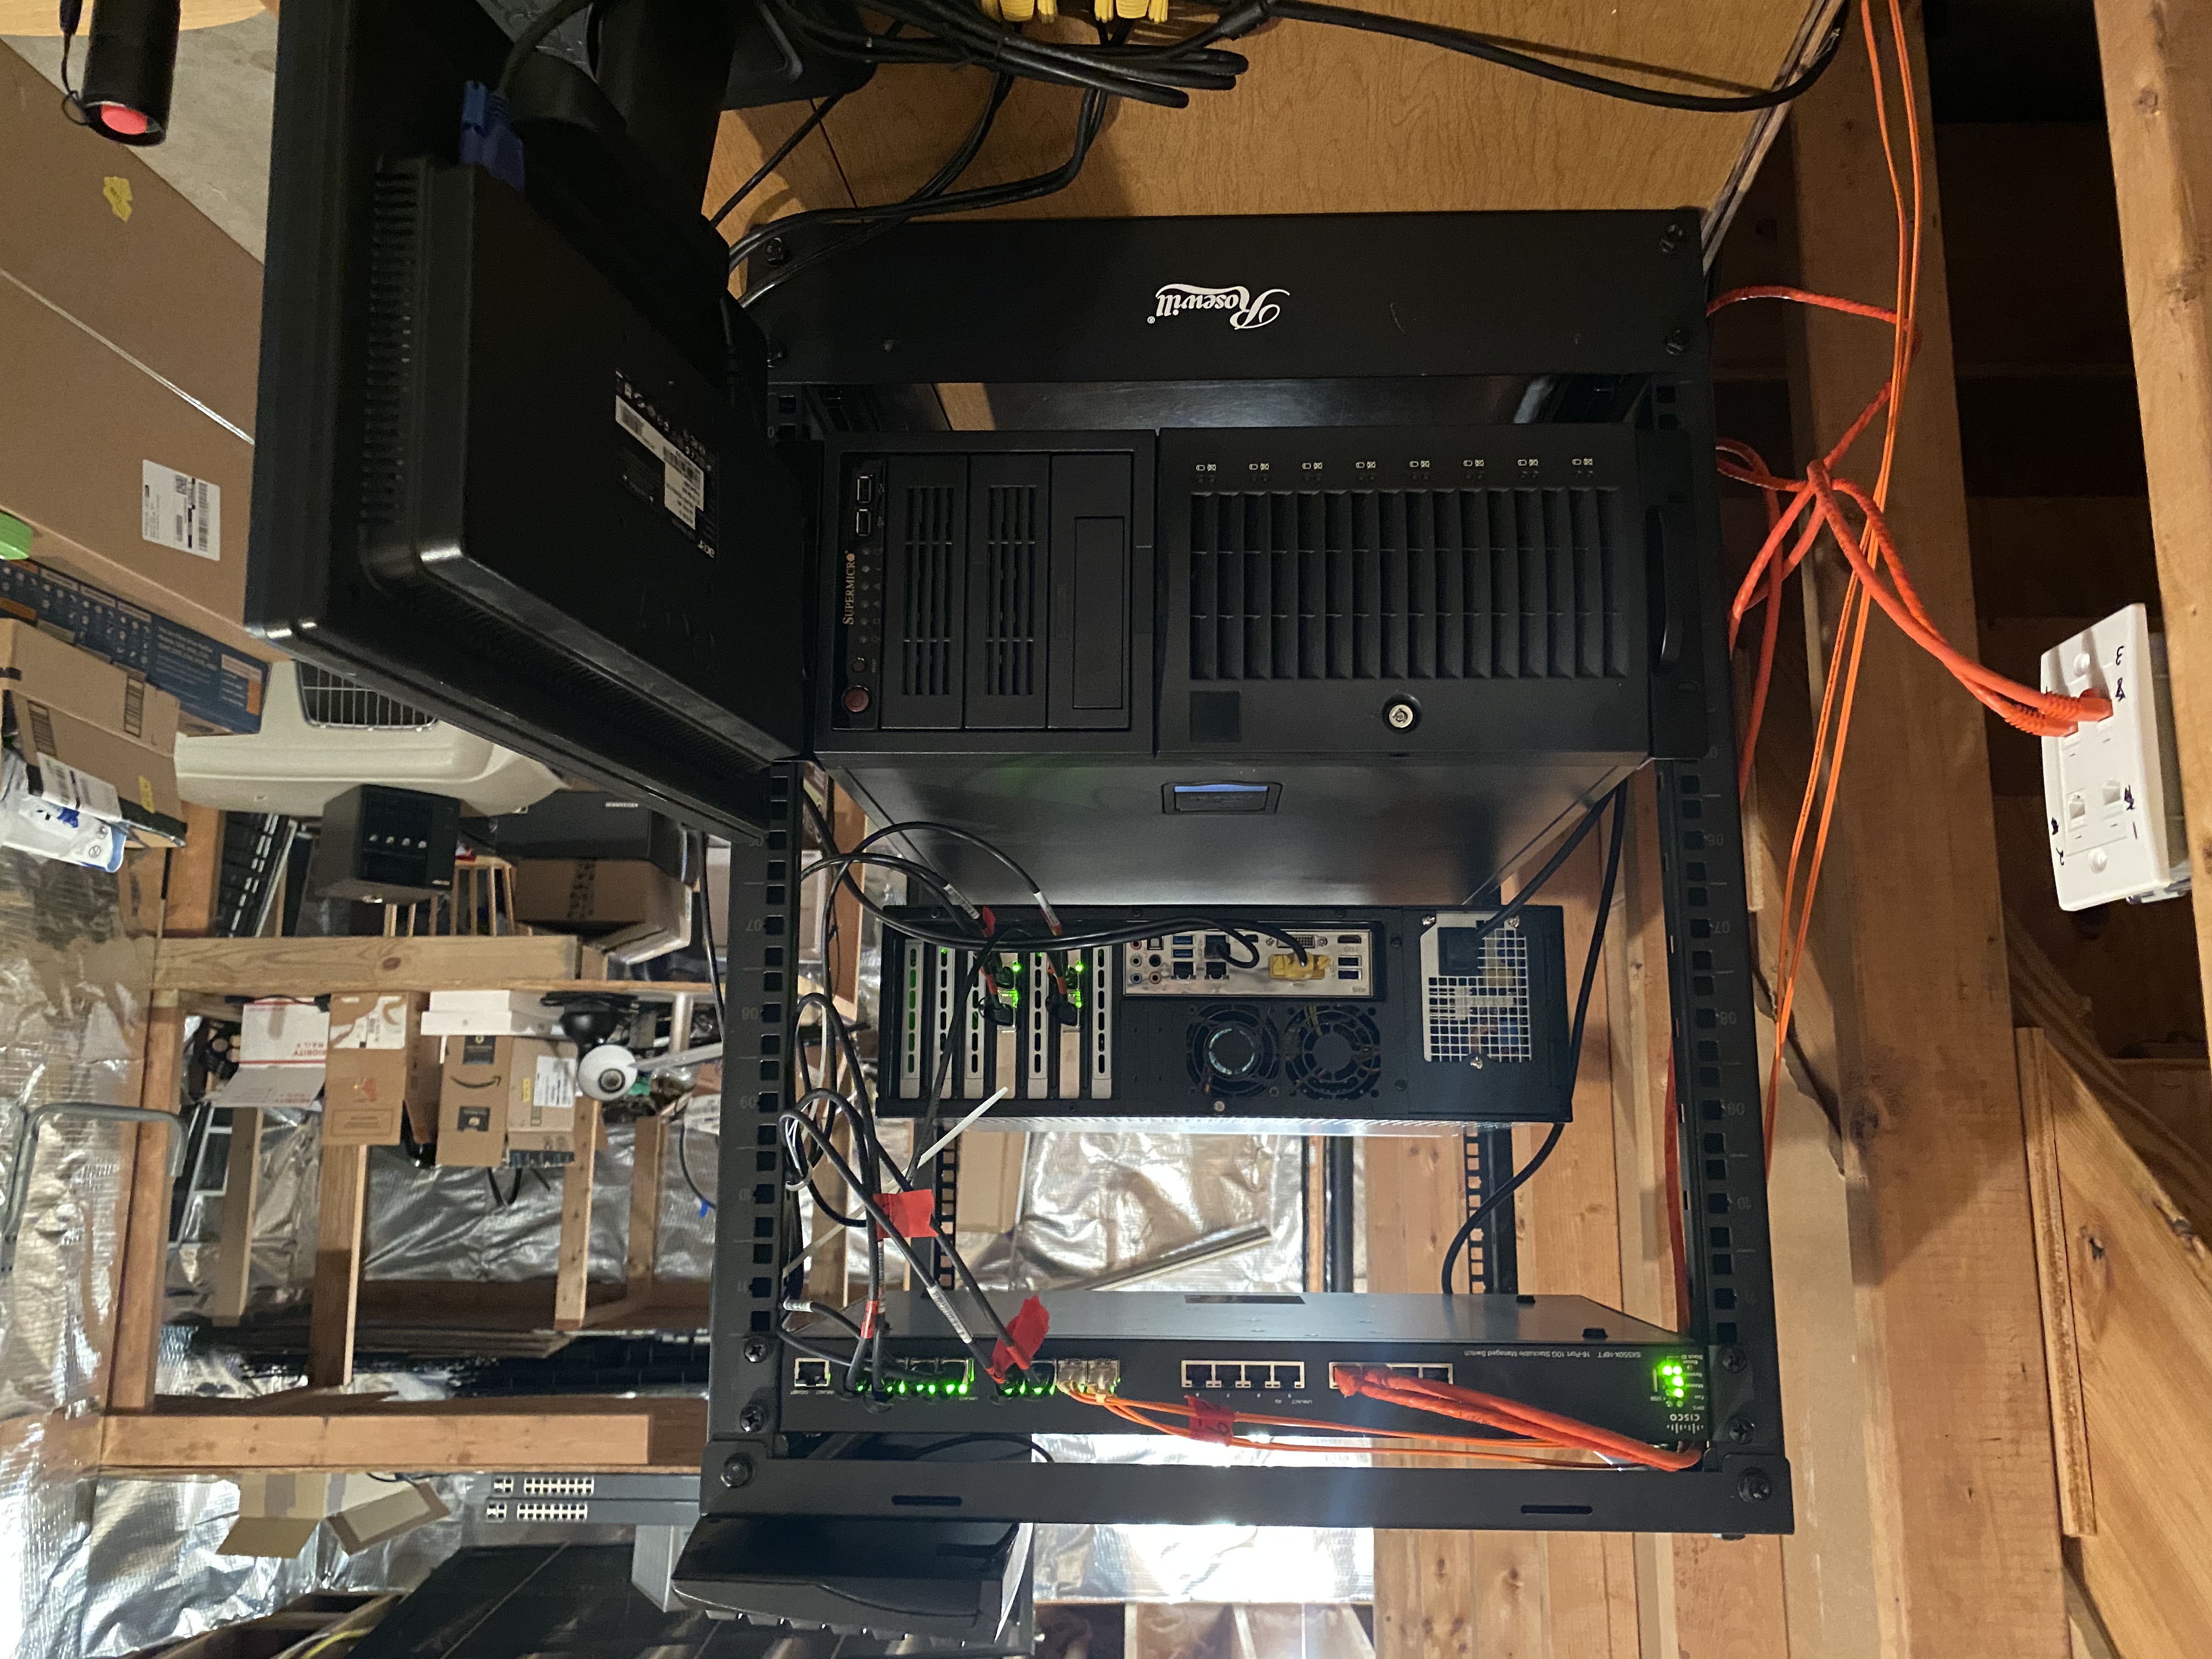
I still need to tidy the cabling up a bit more, and I’ll get to that eventually. But there it is: switch, router, and server from top to bottom.